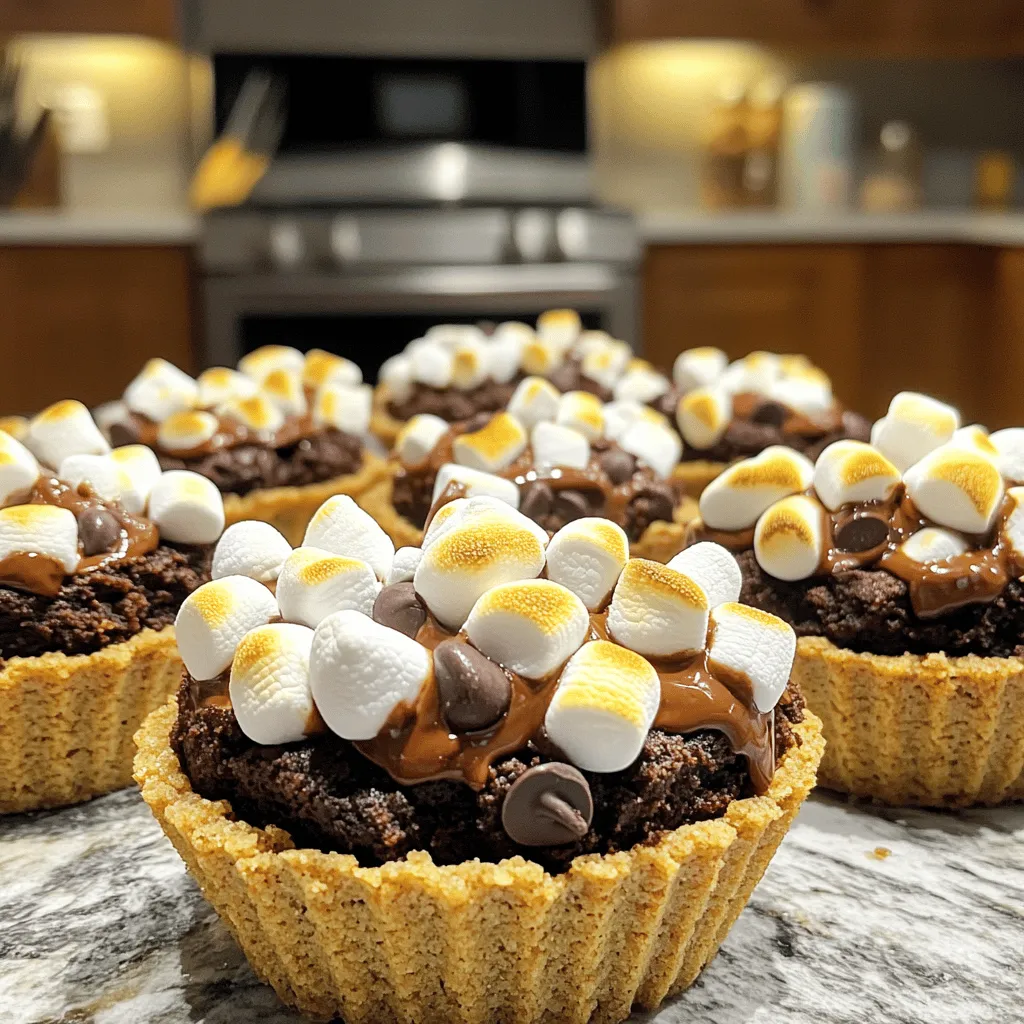
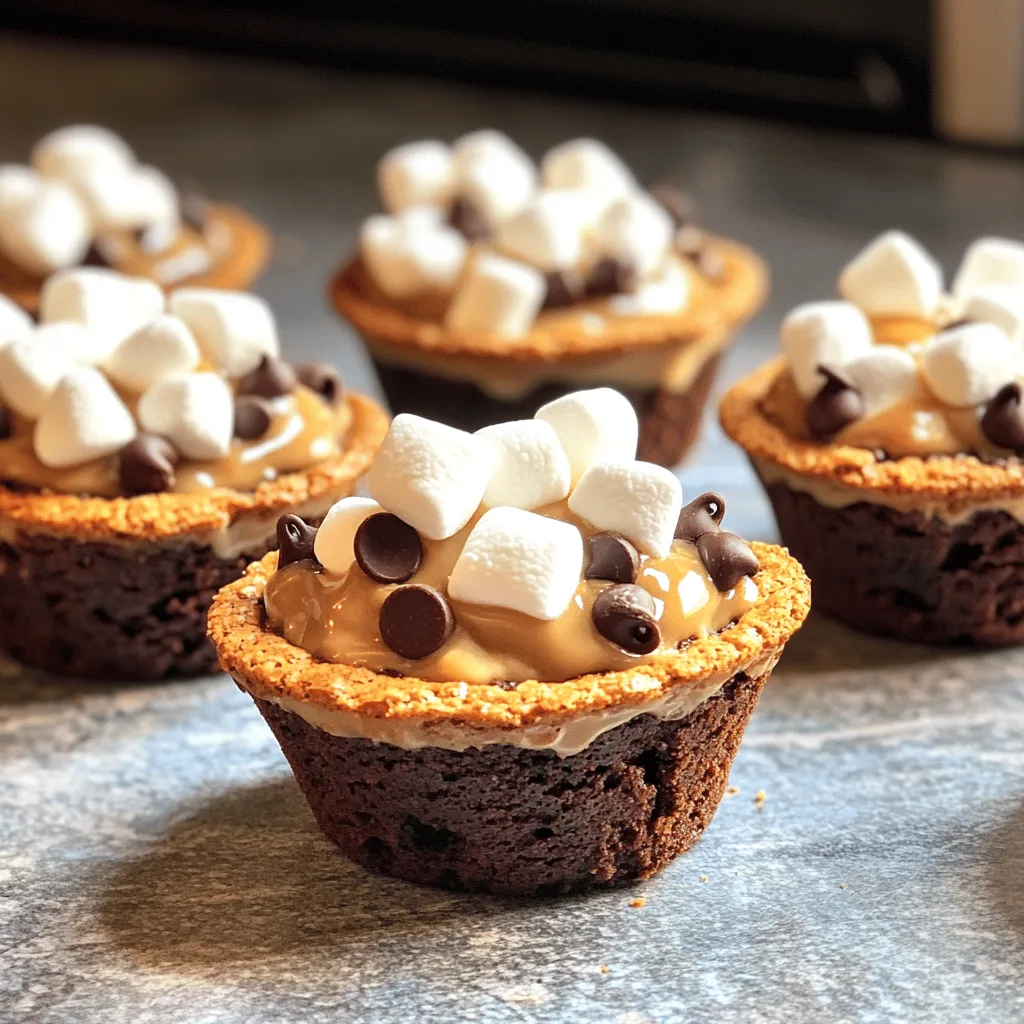
If you love a sweet treat that combines chocolate, graham crackers, and gooey marshmallows, get ready to dive into S’mores Stuffed Brownie Cups! These delicious dessert snacks are easy to make and require no special skills. In this post, I’ll guide you through each step, share tasty tips, and offer fun variations. Your friends and family will rave about these brownie cups, and you’ll be the hero of dessert time!
Ingredients
Main Ingredients for S’mores Stuffed Brownie Cups
To make S’mores Stuffed Brownie Cups, you need the following main ingredients:
– 1 box of brownie mix (plus required ingredients: usually water, oil, and eggs)
– 1 cup mini marshmallows
– 1 cup chocolate chips (your choice: milk or dark)
– 1 cup graham cracker crumbs
– 1/2 cup unsalted butter, melted
– 1/4 cup packed brown sugar
– 1/4 teaspoon salt
These ingredients create the perfect balance of sweet and salty flavors. The brownie mix delivers rich chocolate, while the graham cracker crumbs add a nice crunch.
Additional Toppings and Optional Ingredients
You can enhance your S’mores Stuffed Brownie Cups with some extra toppings. Here are a few options:
– Extra mini marshmallows
– Additional chocolate pieces for topping (optional, but highly recommended)
These toppings not only boost the flavor but also make your brownie cups look extra tempting.
Suggested Substitutions for Key Ingredients
You might want to switch up some ingredients. Here are a few substitutions:
– Use gluten-free brownie mix for a gluten-free option.
– Replace mini marshmallows with large marshmallows, cut into smaller pieces.
– Swap chocolate chips for crushed candy bars or peanut butter chips.
These substitutions keep the fun while catering to different tastes and dietary needs.
Step-by-Step Instructions
Preparing the Oven and Muffin Tin
First, you need to preheat your oven to 350°F (175°C). This step is key for baking perfect brownie cups. While the oven heats up, grab your muffin tin. Grease it well or use cupcake liners. This will help you remove the brownie cups easily later.
Creating the Graham Cracker Crust
In a bowl, mix together the melted butter, graham cracker crumbs, brown sugar, and salt. Stir until the mix looks even. If it feels too dry, add a bit more melted butter. You want this crust to hold together well.
Mixing and Filling the Brownie Batter
In a separate bowl, make the brownie mix. Follow the package instructions. You usually need water, oil, and eggs. Mix until just combined. Don’t overmix; this keeps your brownies light and fluffy.
Baking the Brownie Cups
Now it’s time to fill the muffin tin. Pour the brownie batter into each cup, filling them about two-thirds full. Next, sprinkle mini marshmallows and chocolate chips on top. Add a little more brownie batter to fill the cups to three-quarters full. Bake them for 18-20 minutes. Check if they are done by inserting a toothpick into the center. It should come out with moist crumbs, not wet batter.
Cooling and Serving Suggestions
After baking, take the muffin tin out of the oven. If you want, add extra mini marshmallows and chocolate pieces on top. Put the tin back in the oven for 1-2 minutes to toast the marshmallows. Let the brownie cups cool in the tin for about 10 minutes. After that, move them to a wire rack to cool completely. You can serve them warm or at room temperature. They are sure to impress everyone!
Tips & Tricks
How to Avoid Overmixing Brownie Batter
To keep your brownie cups soft, mix gently. After adding water, oil, and eggs to the brownie mix, stir until just combined. This helps keep air bubbles in the batter. If you see dry spots, that’s okay! They will mix in while baking. Overmixing leads to tough brownies, which you want to avoid.
Best Practices for Storing Leftover Brownie Cups
If you have any brownie cups left, store them in an airtight container. Keep them at room temperature for up to three days. For longer storage, place them in the fridge. They can last up to a week in the fridge. Just make sure to let them come to room temperature before enjoying again.
Serving Ideas and Creative Presentation Tips
To make your S’mores stuffed brownie cups extra special, try these fun ideas:
– Drizzle melted chocolate over the tops for a gourmet touch.
– Add extra mini marshmallows on top for a fluffy look.
– Sprinkle graham cracker crumbs for added texture.
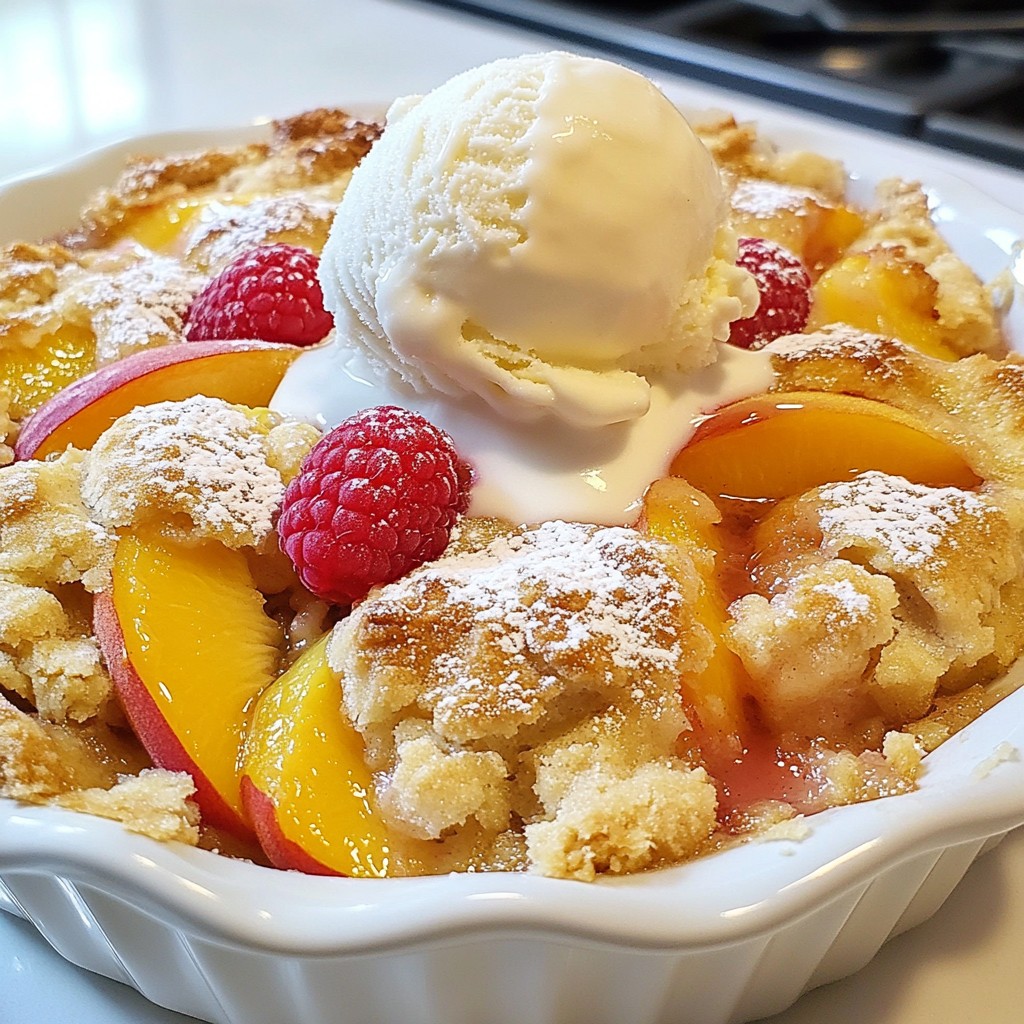
– Serve them warm with a scoop of vanilla ice cream.
These small touches make a big difference in how they look and taste! Enjoying these treats is all about the experience, so get creative!
Variations
Alternative Flavors for Brownie Mix
You can switch up the brownie mix to create new flavors. Try using a salted caramel mix for a sweet twist or a peanut butter mix for a nutty flavor. You can even try a coffee-flavored mix for a rich taste. Each option brings its own fun to the S’mores experience.
Creative S’mores Variations
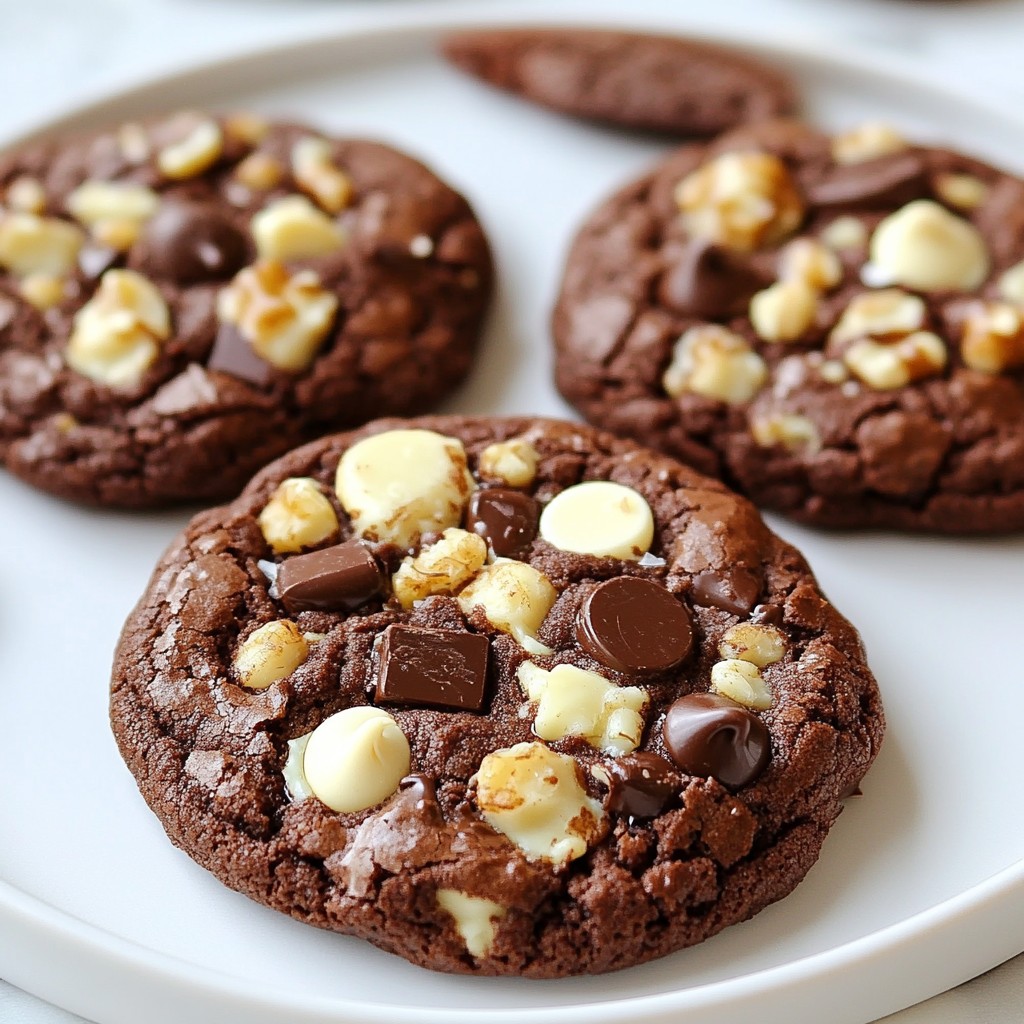
Think outside the box with your S’mores! Add nuts like walnuts or pecans for a crunch. You can also include fruits like banana slices or strawberries for a fresh twist. Want a spicy kick? Add a dash of chili powder or cayenne pepper to the chocolate chips. These unique variations can make your S’mores stuffed brownie cups even more exciting.
Gluten-Free and Vegan Options
To make these brownie cups gluten-free, use a gluten-free brownie mix. Many brands offer this option, and it works well. For a vegan version, choose a plant-based brownie mix, and use flax eggs instead of regular eggs. You can make flax eggs by mixing ground flaxseed with water. This way, everyone can enjoy these tasty treats!
Storage Info
Best Methods for Storing S’mores Stuffed Brownie Cups
To keep your S’mores stuffed brownie cups fresh, store them in an airtight container. Place parchment paper between layers if you stack them. This prevents sticking. Keep the container at room temperature for up to three days. If you want them to last longer, refrigerate them. They can stay fresh for about a week in the fridge.
How to Reheat Brownie Cups for Maximum Enjoyment
To reheat your brownie cups, preheat the oven to 350°F (175°C). Place the brownie cups on a baking sheet. Heat for about 5-10 minutes. This warms them and softens the marshmallows. You can also microwave them. Just heat for 10-15 seconds for a quick fix. Be careful not to overheat, or they might get too gooey.
Freezing Tips for Long-Term Storage
If you want to store these brownie cups for a longer time, freezing is a great option. First, let them cool completely. Wrap each brownie cup tightly in plastic wrap. Then, place them in a freezer-safe bag or container. They can last up to three months in the freezer. To enjoy, thaw them in the fridge overnight before reheating. This way, you keep that delightful S’mores taste intact!
FAQs
How long do S’mores Stuffed Brownie Cups last?
S’mores stuffed brownie cups last about 3 to 5 days. Store them in an airtight container. This keeps them fresh and tasty. You can enjoy them at room temperature or warm them up slightly for a gooey experience.
Can I make these brownie cups ahead of time?
Yes, you can make these brownie cups ahead of time. Prepare them and store them in the fridge. They taste great if made one day in advance. Just reheat them for a few minutes before serving to bring back that warm, melty goodness.
What can I use instead of mini marshmallows?
If you don’t have mini marshmallows, try using marshmallow fluff. You can also use larger marshmallows, cut them into smaller pieces. Another option is to mix chocolate with peanut butter for a different twist.
What’s the best way to serve S’mores Stuffed Brownie Cups?
Serve the brownie cups warm for the best taste. You can drizzle melted chocolate on top for extra flavor. Adding a scoop of ice cream makes them even better. They are perfect for parties or cozy nights at home.
S’mores stuffed brownie cups are a fun treat that anyone can make. We covered the main ingredients, tips for success, and variations for unique flavors. Remember to use the right baking method for the best results. Whether you want to impress guests or enjoy a sweet bite, these brownie cups will delight. With simple steps and creative ideas, you’ll become a baking star. Enjoy your delicious creations and share them with friends!