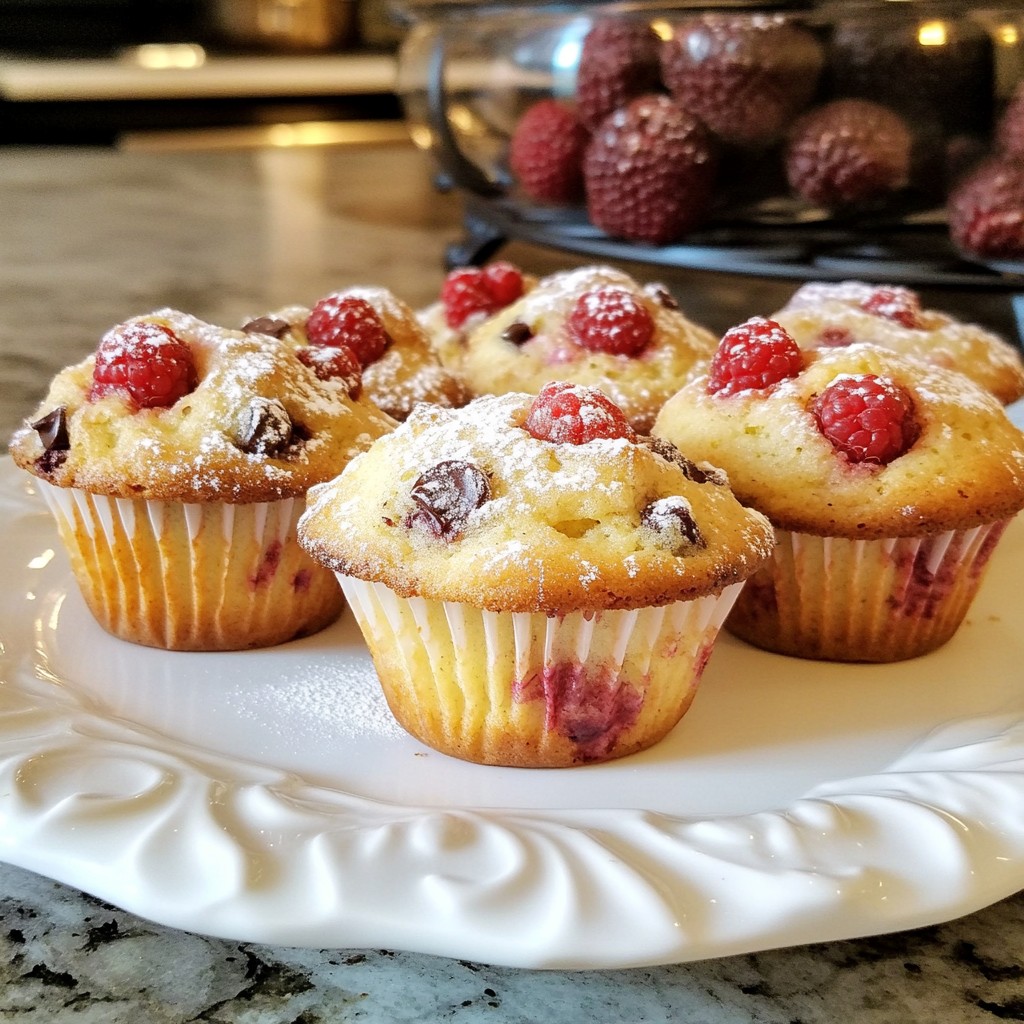
Welcome to cookie heaven! If you’re craving something warm, gooey, and packed with flavor, you’re in the right place. This irresistible Brown Butter Chocolate Chunk Cookies recipe is a game changer. The nutty aroma from the browned butter blends perfectly with rich chocolate chunks. I’ll guide you through every step, ensuring your cookies turn out perfectly every time. Get ready to impress your friends and family with a treat they won’t forget!
Why I Love This Recipe
- Rich Flavor: The brown butter adds a deep, nutty flavor that elevates these cookies beyond the ordinary.
- Perfect Texture: These cookies strike the perfect balance between chewy and crispy, making them incredibly satisfying to eat.
- Customizable: You can easily swap the chocolate chunks for your favorite type or add nuts for extra crunch.
- Easy to Make: The straightforward steps make these cookies a breeze to whip up, perfect for both novice and experienced bakers.
Ingredients
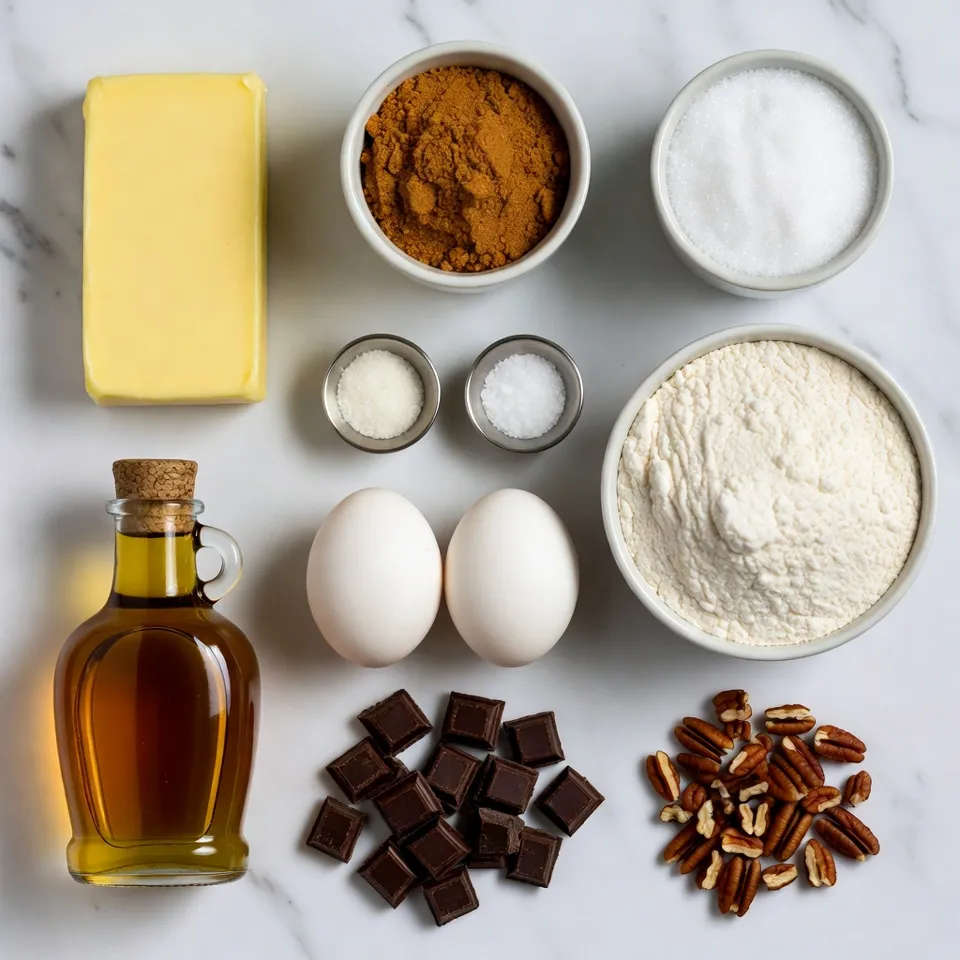
To make delicious brown butter chocolate chunk cookies, you need the right ingredients. Here’s what you’ll need:
– 1 cup unsalted butter
– 1 cup packed brown sugar
– 1/2 cup granulated sugar
– 2 teaspoons pure vanilla extract
– 2 large eggs
– 3 cups all-purpose flour
– 1 teaspoon baking soda
– 1/2 teaspoon fine sea salt
– 1 1/2 cups chocolate chunks (choose between milk or dark chocolate)
– 1/2 cup chopped pecans or walnuts (optional)
Each ingredient plays a key role in flavor and texture. The unsalted butter adds creaminess. Brown sugar gives a rich taste, while granulated sugar adds sweetness. Pure vanilla extract brings warmth to the mix. Eggs bind the dough together, while flour and baking soda provide structure. Fine sea salt enhances all flavors, making them pop. Chocolate chunks add indulgence, and optional nuts add a nice crunch.
You can mix and match chocolate types or nuts based on your taste. Don’t forget to check each ingredient’s quality. Fresh ingredients always improve your cookies. Enjoy every step of the process, as it leads to a tasty treat!
Step-by-Step Instructions
Preparing the Brown Butter
– Melting and Browning Process
Start by melting the unsalted butter in a medium saucepan over medium heat. Stir it often to ensure even cooking. Keep an eye on the butter as it foams and turns a rich golden brown, which takes about 5-7 minutes. You’ll know it’s ready when it gives off a lovely nutty aroma.
– Cooling Down the Browned Butter
After browning, remove the butter from heat and let it cool slightly. This step is key to avoid cooking the eggs later.
Mixing the Wet Ingredients
– Incorporating Sugars into Brown Butter
In a large mixing bowl, pour the warm browned butter. Add the packed brown sugar and granulated sugar. Mix until the sugars blend well with the butter, forming a smooth and glossy mixture.
– Adding Vanilla and Eggs
Next, add the pure vanilla extract. Crack in the eggs, one at a time, mixing well after each addition. This makes your batter creamy and helps everything come together nicely.
Combining Dry and Wet Ingredients
– Whisking Dry Ingredients
In a separate bowl, whisk together the all-purpose flour, baking soda, and fine sea salt. This ensures even distribution of the baking soda and salt throughout the dough.
– Gradually Mixing Together
Now, slowly add the dry ingredients to the wet mixture. Mix gently until just combined. Be careful not to overmix, or your cookies will turn out tough instead of soft.
Folding in Chocolate and Nuts
– Distributing Chocolate Chunks
Gently fold in the chocolate chunks. Make sure they spread evenly throughout the dough for that perfect chocolate experience in every bite.
– Incorporating Optional Nuts
If you want a little extra crunch, add chopped pecans or walnuts. Fold them in just like the chocolate.
Chilling the Dough
– Overview of Importance of Chilling
Cover the dough with plastic wrap or a clean kitchen towel. Refrigerate for at least 30 minutes. Chilling helps develop the flavor and stops the cookies from spreading too much while baking.
Baking Process
– Preheating the Oven
Preheat your oven to 350°F (175°C). Line a baking sheet with parchment paper to prevent sticking.
– Portioning and Baking the Cookies
Use a cookie scoop or a tablespoon to portion out rounded balls of dough. Space them about 2 inches apart on the baking sheet. Bake for 10-12 minutes. The edges should be golden, while the center looks slightly underbaked. Let them rest for 5 minutes before moving them to a wire rack to cool.
Tips & Tricks
Best Practices for Browning Butter
– Understanding Aroma and Color
To brown butter, use medium heat in a saucepan. Watch it closely. The butter will melt, foam, and then turn golden brown. This process takes about 5-7 minutes. As it cooks, it will smell nutty. This nutty aroma shows it is ready. Remove it from heat as soon as it turns brown to avoid burning.
Achieving Perfect Cookie Texture
– Avoiding Overmixing
When mixing your dough, mix just until it all comes together. Overmixing can make cookies tough. You want a soft and chewy texture. Gently fold in chocolate chunks and nuts to keep the dough light.
– Tips for Cookie Spacing
Space your cookie dough balls about 2 inches apart on the baking sheet. This helps them spread evenly while baking. If they are too close, they will merge into one big cookie.
Enhancing Flavor and Presentation
– Flaky Sea Salt
After baking, sprinkle cookies with flaky sea salt. This adds a lovely flavor contrast. The salt enhances the sweetness of the chocolate. It makes each bite even more special.
– Pairing Suggestions
Serve warm cookies with cold milk or vanilla ice cream. The warm and cold contrast is divine. You can also try pairing them with a cup of coffee for a delightful treat.
Pro Tips
- Brown Butter Magic: Make sure to watch the butter closely as it browns; the nutty flavor is key to these cookies, but it can go from perfect to burnt quickly.
- Chill the Dough: Don’t skip the chilling step! It allows the flavors to meld and helps prevent the cookies from spreading too much in the oven.
- Mixing Technique: When combining the dry ingredients with the wet, mix just until incorporated. Overmixing can result in tough cookies.
- Perfect Baking: Keep an eye on the cookies as they bake; they should be golden around the edges and slightly underbaked in the center for the best texture.
Variations
Different Chocolate Choices
You can pick between milk chocolate and dark chocolate. Milk chocolate gives a sweet, creamy taste. It melts perfectly in the cookie, making it chewy. Dark chocolate, on the other hand, adds a rich, bold flavor. It balances the sweetness of brown sugar. You can even mix both types for a fun twist.
Nut Alternatives
Using different nuts can change your cookie’s taste. Pecans and walnuts add a nice crunch. You can also try almonds or hazelnuts for a unique flavor. If you want a nut-free cookie, you can leave them out. Your cookies will still be soft and tasty without nuts.
Flavor Additions
Adding spices or extracts can enhance your cookies. Try a pinch of cinnamon for warmth or a splash of almond extract for a twist. You can also stir in oats or coconut. Oats give a chewy texture, while coconut adds a tropical touch. Experiment with these additions to find your perfect flavor!
Storage Info
Storing Baked Cookies
To keep your cookies fresh, store them in a cool spot. Place them in an airtight container. This helps to maintain their soft texture. You can also add a slice of bread to the container. The bread keeps the cookies moist.
Freezing Cookie Dough
Freezing cookie dough is a smart way to save time. First, scoop the dough into balls. Place the balls on a baking sheet. Make sure they do not touch each other. Freeze them for about 1 hour. After they firm up, move the balls to a freezer bag. Label the bag with the date. You can freeze the dough for up to three months.
Reheating Tips
Reheating cookies can bring back their fresh taste. You can use an oven or microwave. For the oven, preheat it to 350°F (175°C). Place the cookies on a baking sheet and heat for 5 minutes. For the microwave, heat one cookie for about 10 seconds. Enjoy warm cookies just like they are fresh from the oven.
FAQs
What is the difference between brown butter and regular butter?
Brown butter is regular butter cooked longer. As it heats, it turns golden and develops a rich, nutty flavor. This process adds depth and complexity to your cookies. Regular butter doesn’t have this flavor. It just adds fat to your baked goods.
Can I make these cookies gluten-free?
Yes, you can! Use a gluten-free flour blend in place of all-purpose flour. Many blends work well, but make sure they contain xanthan gum for better texture. Your cookies will still be tasty and chewy.
How do I prevent my cookies from spreading too much?
Chill the dough before baking. This helps the fat firm up, so cookies spread less. Also, don’t overmix your dough. This can lead to tough cookies that spread too much. Lastly, keep the cookies spaced well apart on the baking sheet.
What can I substitute for chocolate chunks?
You can use chocolate chips if you prefer. They come in many flavors, like milk, dark, or white chocolate. You can also use caramels or butterscotch chips for a fun twist. Dried fruit or nuts can add a unique taste too.
How long can the cookies be stored?
Store the cookies in an airtight container at room temperature for up to a week. For longer storage, freeze them in a sealed bag. They can last for about three months frozen. Just thaw them at room temperature before enjoying!
This blog post covered how to make rich, flavorful cookies from scratch. We discussed the key ingredients, like brown butter and good-quality chocolate. I shared steps for mixing and baking, along with handy tips for the best texture. You learned about cookie variations and storage methods to keep them fresh.
Remember, baking cookies is fun and creative. Experiment with flavors and share your treats with friends. Enjoy baking and tasting your delicious creation